Apartment Drywall Repair: 3 Easy Steps to Seamless Walls
Why Apartment Drywall Repair is Essential for Property Owners
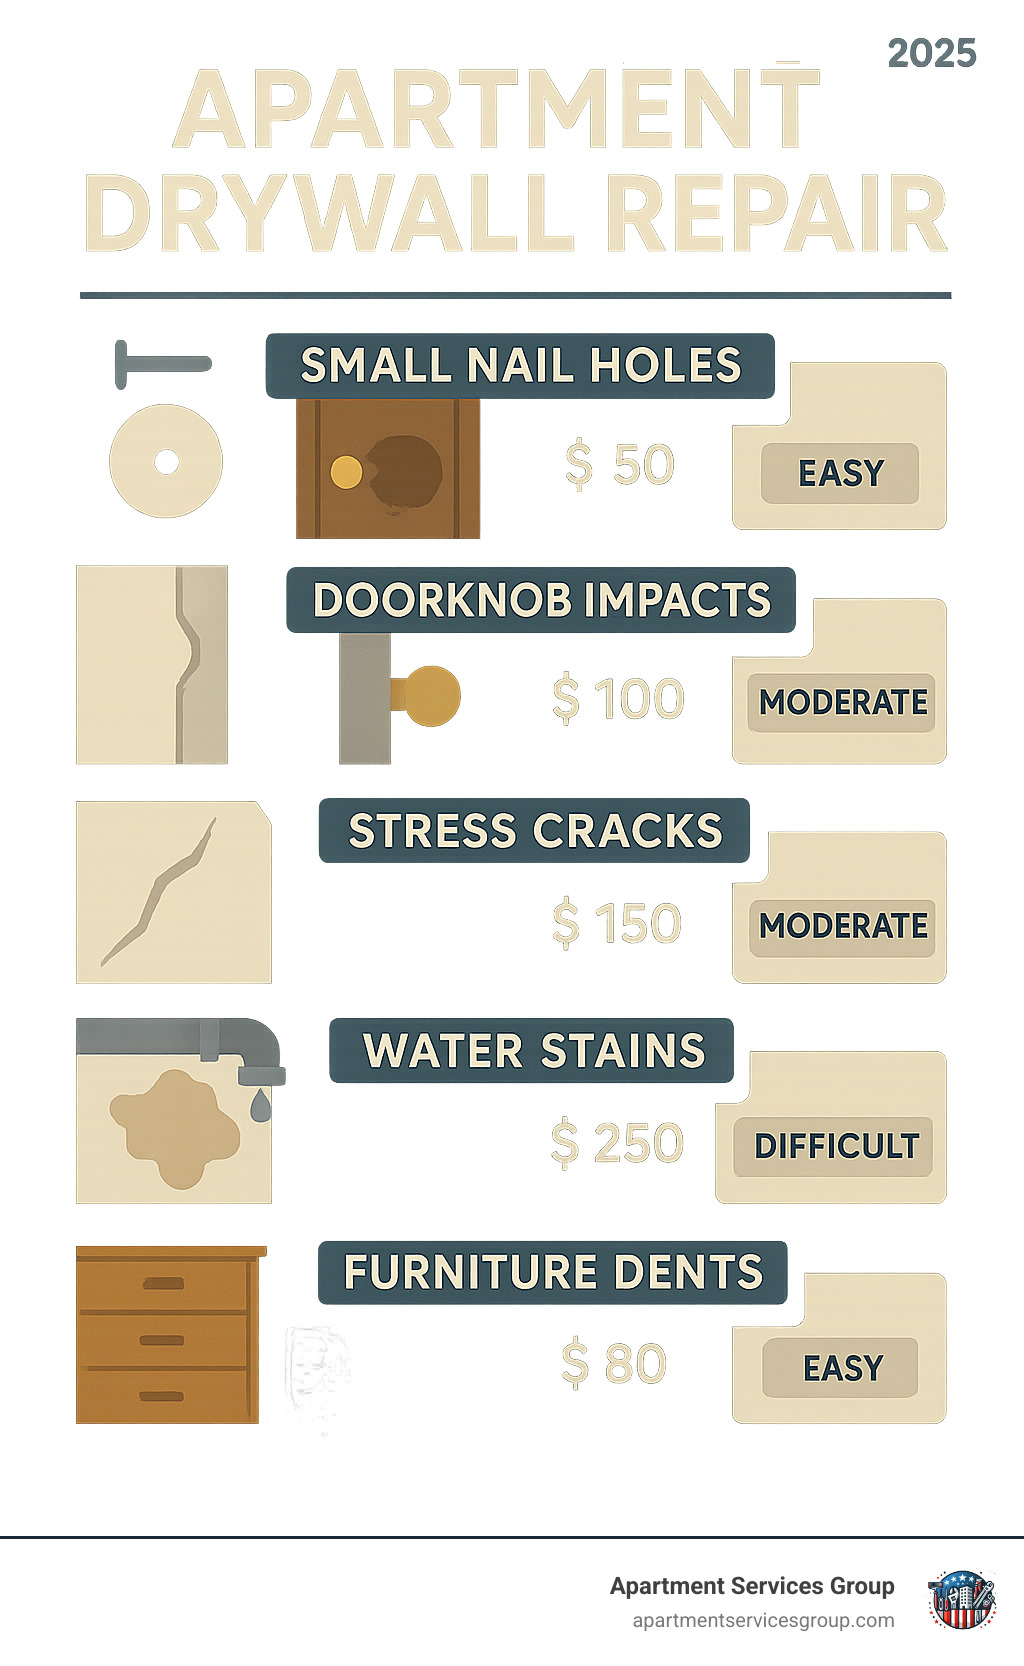
Apartment drywall repair is a critical skill for property managers and owners. Knowing how to fix common issues like nail holes, doorknob damage, stress cracks, and dents can save hundreds of dollars and keep properties looking professional. While professional repairs can cost $350 to $700, small DIY fixes can be as little as $15.
Most repairs involve fixing dents, holes, and cracks, which are skills anyone can learn. However, some issues require immediate attention. Ignoring water-damaged drywall can lead to mold growth, potentially costing thousands in rebuilds.
As Moe Shariff, owner of Apartment Services Group, I’ve learned over eight years in property management that addressing wall damage quickly is essential for maintaining property values and tenant satisfaction. This guide will provide you with the techniques to handle most common repairs.

Before You Begin: Key Considerations for Renters
Before starting any repairs, it’s important to understand the rules. As a renter, you want to be responsible without creating more problems.
First, check your lease agreement. Many leases have specific rules about repairs and modifications. Some landlords allow tenants to handle minor fixes, while others prefer to manage all repairs themselves. A quick read can prevent future disputes.
Next, always get landlord approval for anything larger than a simple nail hole. A quick text or email to get permission is a smart move. Most landlords appreciate tenants who communicate and care for the property.
Understand the difference between normal wear and tear versus actual damage to protect your security deposit. Small nail holes are typically wear and tear, but a large hole from moving furniture is considered damage. While many landlords charge reasonable fees for minor repairs, learning apartment drywall repair skills can save you money.
However, water damage is not a DIY situation. If you see water stains, soft spots, or other signs of moisture, call your landlord immediately. Water-damaged drywall must be professionally replaced to prevent mold growth, which can cause thousands in damages and create serious health risks. For issues involving water, large areas, or structural concerns, it’s time to call in experts like our team at Apartment Complex Solutions.
The goal is to fix the wall correctly to ensure you get your full security deposit back and maintain a good relationship with your landlord.
Gather Your Arsenal: Essential Tools & Materials
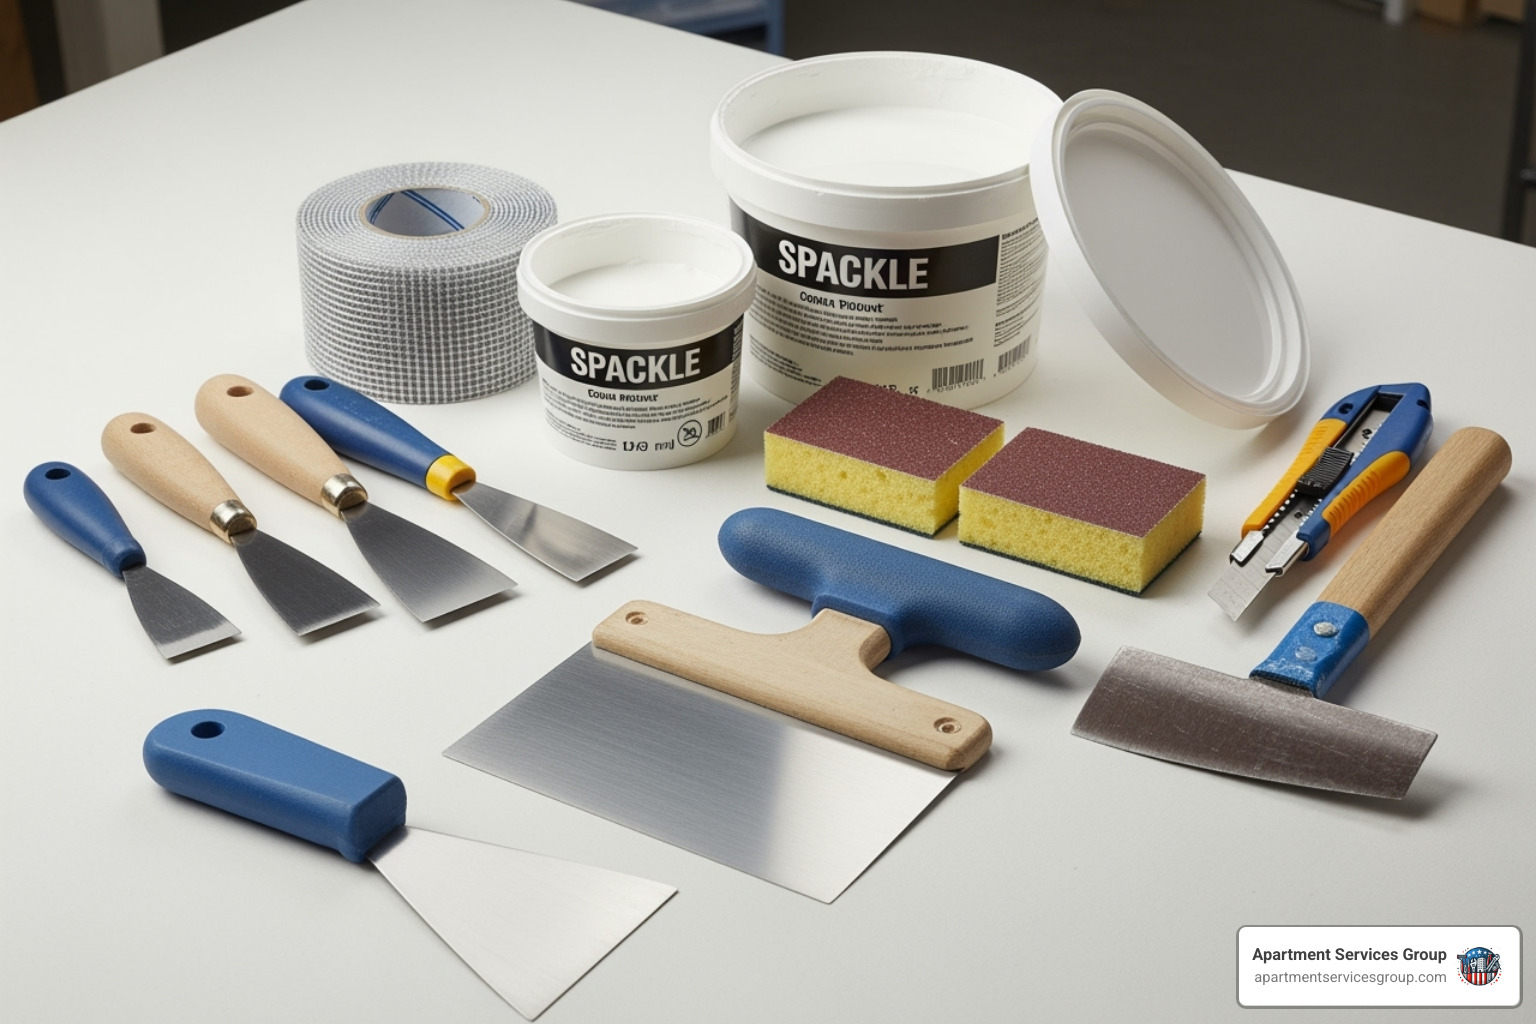
Having the right tools and materials is half the battle in apartment drywall repair. Here’s what you’ll need for most fixes.

- Putty Knife (or Joint Knife): A 4- or 6-inch knife is versatile for applying compound and feathering edges.
- Sanding Sponge (or Fine-Grit Sandpaper): Use 200-300 grit for a smooth finish.
- Spackle: For small holes and dents. It’s quick-drying and holds its volume.
- Joint Compound (Drywall Mud): For larger repairs and taping seams. Provides a stronger finish.
- Self-Adhesive Mesh Patch: A lifesaver for small to medium-sized holes.
- Utility Knife: For trimming loose drywall edges and scoring lines.
- Drywall Saw: For cutting out larger damaged sections.
- Drywall Screws & Drill/Screwdriver: For securing new drywall patches.
- Furring Strips (Scrap Wood): Provides backing support for larger patches where no stud is available.
- Drywall Tape: Reinforces seams and cracks for larger repairs.
- Primer & Paint: Crucial for sealing the repair and matching your wall.
- Tack Cloth: For wiping away dust after sanding.
- Safety Gear: Dust mask, goggles, and gloves are essential.
Many brands offer drywall repair kits that bundle spackle, a putty knife, and a sanding block, perfect for beginners.
Spackle vs. Joint Compound
| Feature | Spackle | Joint Compound (Drywall Mud) |
|---|---|---|
| Best Use For | Small holes (nails, screws), minor dents | Larger holes, cracks, taping seams, texturing |
| Drying Time | Fast (15-30 minutes) | Slower (up to 24 hours per coat) |
| Shrinkage | Minimal | Shrinks slightly, often requiring multiple coats |
| Consistency | Thicker, paste-like | Smoother, creamier, easier to spread |
| Finish | Easy to sand, good for quick fixes | Stronger bond, sands well, best for durable, seamless repairs |
For small holes, spackle is your speedy friend. For anything larger, joint compound is the professional choice for durability.
Your Step-by-Step Guide to Apartment Drywall Repair
With your tools ready, it’s time to tackle the wall. For any apartment drywall repair, proper preparation is key. Clear the area, lay down a drop cloth to protect floors from dust, and clean the damaged spot with a damp cloth. Always wear a dust mask, goggles, and gloves for safety.
Fixing Small Holes & Dents
This covers common issues like nail holes, small dents, and scuffs.
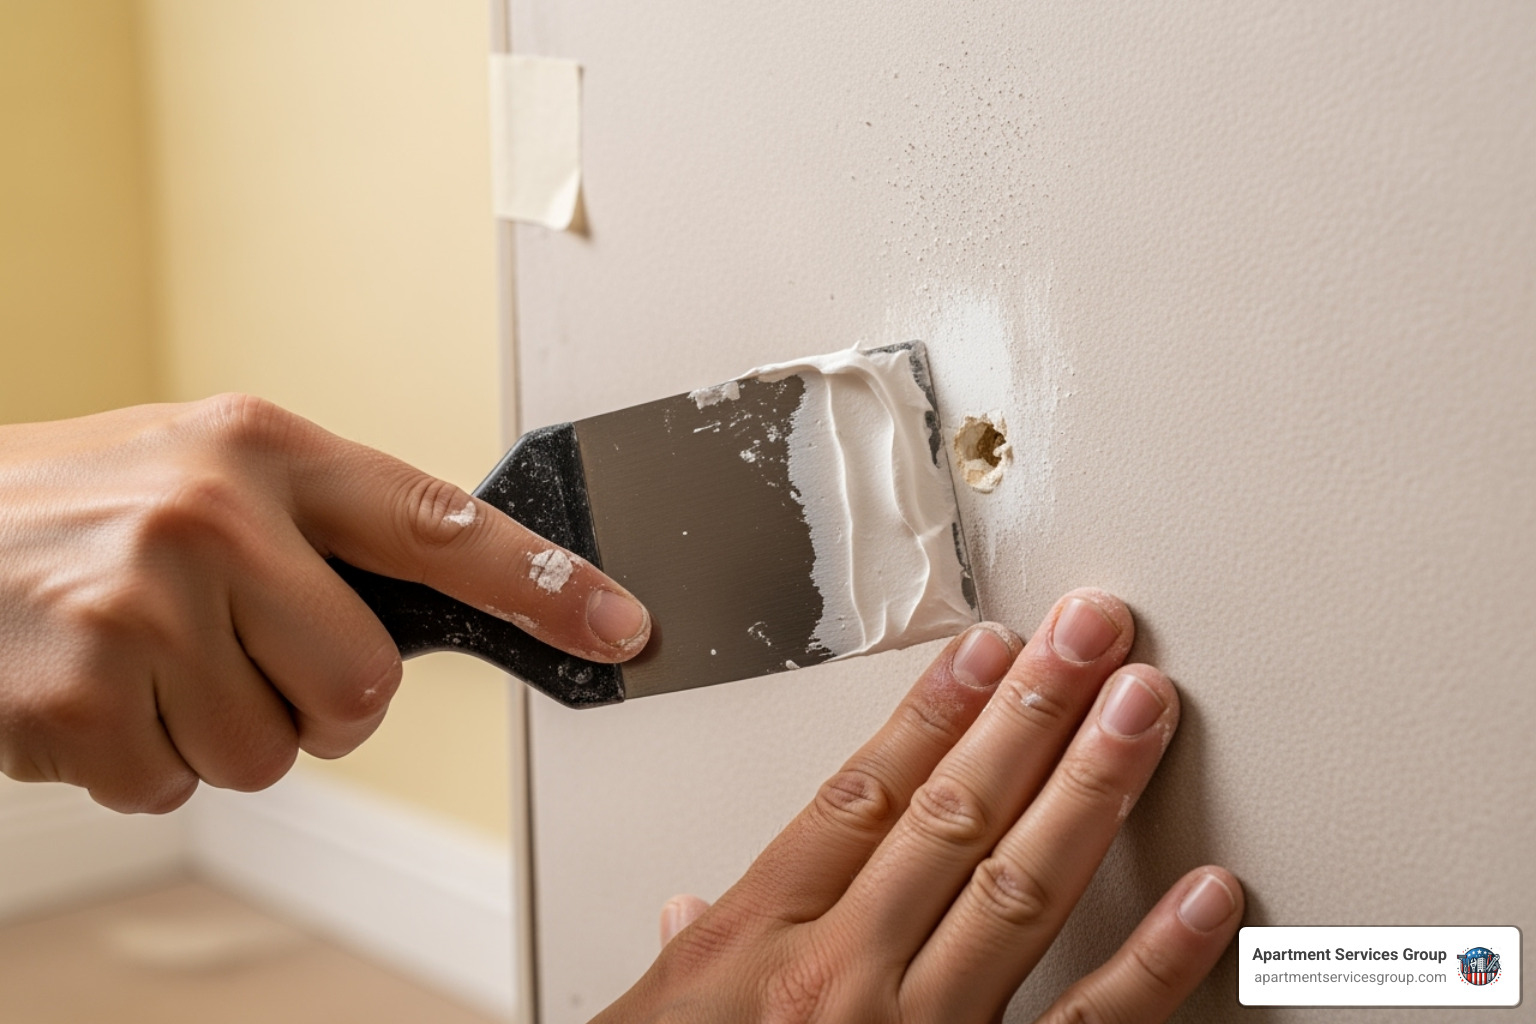
- Prep: Clean the area. Scrape away any jagged edges around the hole with a putty knife.
- Apply Spackle: Use a putty knife to apply a small amount of spackle over the hole, spreading it smoothly so it’s flush with the wall.
- Feather Edges: Use the putty knife at a slight angle to blend the spackle’s edges into the existing wall, creating a smooth transition.
- Dry: Let the spackle dry completely, following the manufacturer’s instructions (often 15-30 minutes).
- Sand: Gently sand the area with a fine-grit sanding sponge (200-300 grit) until it’s perfectly smooth. Wipe away dust. For a visual guide, see this video: How Do I Use Sandpaper? Watch our Video:How Do I Use Sandpaper?
- Prime & Paint: Apply a dab of primer to seal the spackle, let it dry, then paint with your matching wall color.
Tackling Larger Holes & Cracks
For doorknob holes, larger impacts, or stress cracks, you’ll need joint compound and patching techniques.
Repairing Medium Holes (up to 6 inches)
- Prep: Clean the area and remove any loose drywall.
- Patch: Center a self-adhesive mesh patch over the hole and press firmly.
- First Coat: Use a 6-inch putty knife to apply a thin layer of joint compound over the patch, extending 2-3 inches beyond its edges. Feather the edges smoothly.
- Dry & Second Coat: Let the first coat dry completely (this may take overnight). If needed, apply a second thin coat, feathering the edges again.
- Sand, Prime & Paint: Once fully dry, sand the area until smooth. Wipe away dust, then prime and paint.
Repairing Larger Holes (over 6 inches)
For large holes, you must cut out the damaged section and install a new piece of drywall.
- Cut: Use a drywall saw to cut the damaged area into a clean square or rectangle. For a visual guide, see this video: Watch our DIY Basics video:How Do I Cut Drywall?
- Add Support: Cut two pieces of scrap wood (furring strips) a few inches longer than the hole’s height. Insert them behind the opening and screw them into place through the existing drywall. This creates an anchor for your patch.
- Fit Patch: Cut a new piece of drywall to fit the opening snugly.
- Secure Patch: Place the patch into the opening and secure it to the furring strips with drywall screws. Sink the screw heads just below the surface without breaking the paper.
- Tape Seams: Apply drywall tape over all seams where the patch meets the old wall.
- Apply Compound: Apply at least two coats of joint compound over the tape and patch. Apply a thin first coat to embed the tape, feathering the edges. Let it dry completely. Apply a second, wider coat to smooth and blend the repair. Let it dry.
- Final Sanding: Once the final coat is dry, sand the entire area until it’s perfectly smooth. Wipe away all dust.
- Prime & Paint: Prime the entire repaired area, then paint to match your wall.
Repairing Cracks
- Widen Crack: Use a utility knife to cut a shallow V-groove along the crack to help the compound adhere.
- Tape (if needed): For wider cracks, apply self-adhesive fiberglass tape over the crack.
- Apply Compound: Apply a thin layer of joint compound, pressing it into the groove. Feather the edges.
- Dry & Recoat: Let it dry. Apply a second coat if needed, feathering wider.
- Sand, Prime & Paint: Once dry, sand smooth, prime, and paint.
The Finishing Touch: How to Achieve a Seamless Look
A flawless apartment drywall repair is all about making the repair disappear. The secret lies in perfect paint matching, texture matching, and proper priming.
Paint Matching: Your Key to Success
Finding the exact paint color is crucial. The easiest approach is to ask your landlord or maintenance team for the paint code or any leftover paint.
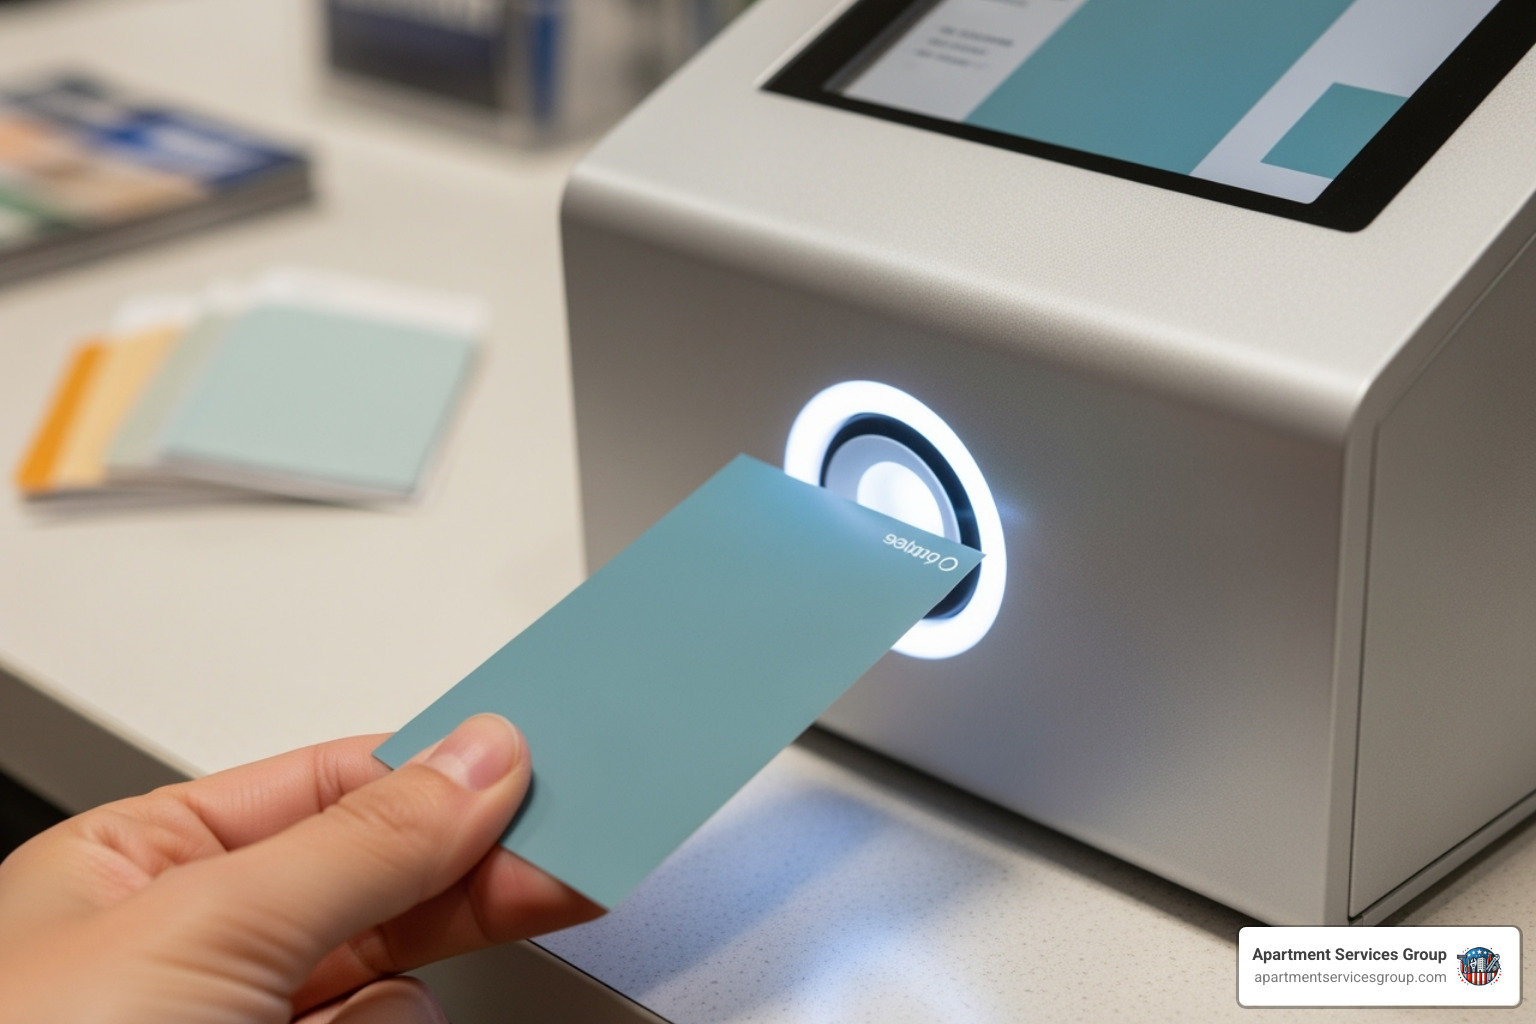
If that’s not an option, take a paint sample to a hardware store. Carefully chip off a quarter-sized piece from a hidden area (like inside a closet). Most paint stores have color-matching technology to create a custom match.

Paint sheen matters just as much as color. A mismatch in sheen (e.g., flat vs. satin) will make the repair obvious. Always test your matched paint in an inconspicuous spot first, as it can dry differently than it appears when wet.
Texture Matching: The Professional Touch
Many apartment walls have a texture like orange peel or knockdown. Matching this is key to an invisible repair.
- For light textures: Mix joint compound with water to a paint-like consistency. Dip a stiff-bristled brush in the mixture and flick it at the wall. Practice on cardboard first.
- For orange peel or knockdown: Use an aerosol wall texture spray from a hardware store. Practice on scrap material to get the distance and pattern right. For knockdown, lightly flatten the sprayed texture with a putty knife after a few minutes.
- For heavier textures: Use a stippling brush or texture roller with your thinned compound.
Priming: The Step You Cannot Skip
Always prime your repaired area before painting. This is especially critical over joint compound, which absorbs paint differently. Skipping primer causes “flashing,” where the patch looks duller or shinier than the rest of the wall. Prime the entire patch, let it dry, and then apply your topcoat.
Common Mistakes to Avoid
- Improper Cleaning: Dust and debris prevent good adhesion.
- Thick Compound: Leads to cracking and excessive sanding.
- Not Feathering Edges: Leaves obvious ridges.
- Inadequate Sanding: Leaves bumps and imperfections.
- Skipping Primer: Causes an uneven paint finish.
- Painting Before Dry: Can cause bubbling or cracking.
- Texture/Sheen Mismatch: Makes the repair stand out.
- DIY Water Damage Repair: A major risk that can lead to mold. Always call a professional.
Frequently Asked Questions about Apartment Drywall Repair
Here are answers to the most common questions we receive about apartment drywall repair.
What’s the difference between spackle and joint compound?
Spackle is for small, quick fixes like nail holes and minor dents. It dries fast (often within 30 minutes), shrinks very little, and is ideal for simple, one-application repairs.
Joint compound is for larger, more challenging jobs like big holes, stress cracks, and taping drywall seams. It creates a stronger, more durable bond but takes longer to dry and requires multiple thin coats to account for shrinkage. In short: use spackle for speed on small jobs and joint compound for strength on large ones.
Can I repair water-damaged drywall myself?
For anything beyond a minor, dried water stain, the answer is no. Water-damaged drywall is a prime breeding ground for mold, which can start growing in wall cavities within 24-48 hours. This creates a health hazard and can lead to thousands of dollars in remediation costs.
Proper repair involves cutting out all affected materials, ensuring the area is completely dry, treating for mold, and then rebuilding. This requires professional expertise and equipment. If you find water damage, your first step should be to notify your landlord or property management immediately. Our team at Apartment Services Group has the experience to handle these situations safely and effectively, protecting your health and the property.
How do I get the exact paint color for my apartment wall?
First, ask your landlord or maintenance team. They often have records of the paint colors used and may even have leftover paint, which is the easiest and most accurate solution.
If that’s not possible, take a paint chip to a hardware store. Carefully cut a quarter-sized sample from an inconspicuous area (e.g., inside a closet). Most paint stores can scan the chip and create a custom color match.
Remember to also match the paint’s sheen (flat, eggshell, satin, etc.). A color match with the wrong sheen will still be noticeable. Always test the new paint in a small spot first, as the color can look different once dry.
Conclusion
From small nail holes to larger cracks, you now have the knowledge to handle most apartment drywall repair projects. The key to a professional-looking result is preparation, patience, and proper technique. Taking your time, allowing for adequate drying, and feathering your edges will make your repairs virtually invisible.
Most minor drywall repairs are perfect for a DIY approach, saving you money and giving you the satisfaction of a job well done. However, it’s crucial to know when to call for help. Water damage, large structural issues, or complex texture matching are jobs best left to professionals. Attempting to fix water-damaged drywall yourself can lead to serious mold issues and far greater costs.
When you need a professional touch for major repairs or are considering a full remodel, our team at Apartment Services Group is here to help. We bring years of experience and quality craftsmanship to every Houston project, from simple maintenance to a complete Apartment Renovation: Transform Your Space – Expert Unit Remodeling for Mod.
Don’t let wall damage impact your security deposit. Whether you do it yourself or call us, address it promptly. Ready to get started or need expert guidance? Contact us for expert property solutions—we’re here to help.


